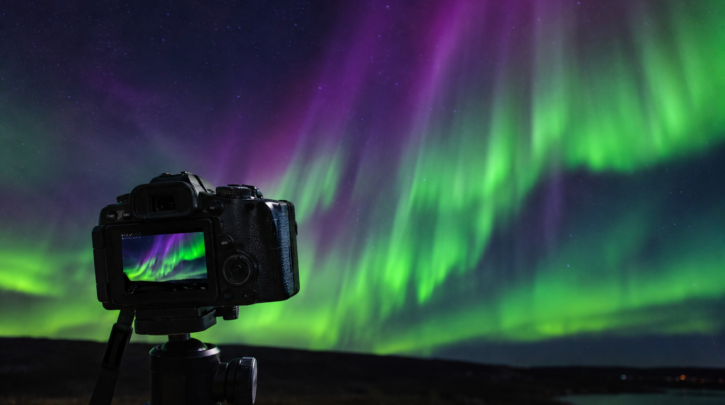

Aurora photography shares a lot of gear with Milky Way photography — a manual camera, a fast wide lens, and a sturdy tripod — but it demands more on-the-fly adjustment, since the aurora itself is dynamic and can shift from faint and slow to bright and fast-moving within minutes.
Camera and Lens Basics
The same core gear that works for Milky Way photography works well for the aurora: a camera with full manual control and RAW capture, and a wide-angle lens with a fast aperture, ideally f/2.8 or faster, to gather enough light in a reasonably short exposure. A sturdy tripod is essential, since any camera shake ruins a multi-second exposure just as it would for any other night sky shot; see our astrophotography camera guide for the broader gear fundamentals that carry over here.
Why Aurora Settings Change Constantly
Unlike a comparatively static Milky Way shot, the aurora’s brightness and speed of movement can change dramatically within the same session — a slow, faint glow calls for a longer exposure to gather enough light, while a fast, bright, rapidly rippling display needs a much shorter exposure to avoid blurring the aurora’s structure into a featureless glow. This means checking and adjusting settings repeatedly through a session rather than locking in one setting and leaving it.
Starting Settings for Slow, Faint Displays
For a dim, slowly shifting glow, start around ISO 1600 to 3200, aperture wide open, and a shutter speed of 10 to 20 seconds, then adjust based on the resulting brightness and any motion blur in the aurora’s shape. This is similar territory to Milky Way exposure settings, though aurora brightness varies more from night to night than the Milky Way’s relatively consistent glow does.
Starting Settings for Fast, Bright Displays
For an active, rapidly moving display, drop the shutter speed to somewhere around 2 to 5 seconds to freeze more of the aurora’s structure and avoid smearing distinct rays and curtains into a flat green wash. Because a bright, fast-moving display is also putting out more light than a faint one, you can often get away with a lower ISO than you’d use for a slower, dimmer glow, even with the shorter shutter speed — modern cameras with good high-ISO performance give extra headroom if you need it.
| Aurora Type | Starting Shutter Speed | Starting ISO |
|---|---|---|
| Faint, slow glow | 10-20 seconds | 1600-3200 |
| Moderate activity | 5-10 seconds | 1600-2500 |
| Bright, fast-moving | 2-5 seconds | 800-1600 |
Focusing in the Dark and Cold
As with any night photography, autofocus is unreliable in the dark — switch to manual focus and use live view zoomed in on a bright star to nail focus before the aurora activity picks up, then avoid bumping the focus ring for the rest of the session; see our Milky Way photography guide for the same focusing technique applied to a different target.
Smartphone Aurora Photography
Modern smartphone night modes can capture a surprisingly usable aurora photo on a tripod, especially during a brighter display, though they generally can’t match a dedicated camera’s control over exposure time for fast-moving, structured displays. A tripod remains essential even for phone photography, since any hand movement during a multi-second night-mode exposure blurs the shot just as badly as it would with a standalone camera.
Cold-Weather Battery Care
Aurora photography often means standing outside in genuinely cold conditions for extended periods, and cold drains batteries considerably faster than normal use. Keeping spare batteries in an inner pocket close to body heat and swapping them as needed keeps a camera running through a long, promising night rather than dying partway through the best activity; see our dark-sky packing list for the broader cold-weather preparation this kind of session demands.
Composing the Foreground
A striking aurora photo usually includes some foreground interest — a tree line, a lake reflection, mountains, or a building silhouette — rather than just an empty sky, which gives the image scale and context. Scouting a composition in daylight before the aurora activity begins, the same way you would for a Milky Way shot, saves valuable time once a display actually starts; see our Milky Way photography guide for how that same foreground-planning approach applies.
Reviewing Shots in the Field
Checking a shot’s histogram rather than just its appearance on a small rear screen gives a far more reliable read on exposure, since a bright screen in the dark can make an actually underexposed image look deceptively bright. Building in a quick histogram check after each settings change keeps a session from wasting its best moments on images that turn out too dark or blown out once viewed properly later.
A few minutes spent getting comfortable with these habits before a display starts pays off enormously once the aurora actually gets going and every minute of activity counts.