
Photographing a solar eclipse safely and well means two very different workflows stitched together: a heavily filtered setup for the long partial phases, and a completely different, unfiltered, bracketed approach for the brief minutes of totality itself, if you’re lucky enough to be in its path.
Safety First: A Certified Solar Filter
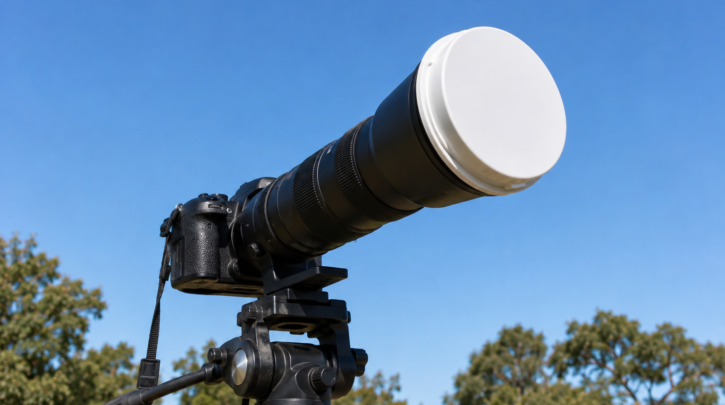
For every partial phase of any eclipse, a certified solar filter must cover the front of your lens or telescope — the same rule that applies to eyes applies to camera sensors and optics; see our eclipse safety guide for full detail on filter requirements before setting up any camera gear at all.
Gear and Focal Length
A telephoto lens or a telescope with at least 400mm of focal length is needed to make the Sun’s disk a reasonably significant size in the frame — shorter focal lengths render the Sun as a small dot, which works fine for a wide shot showing the eclipse alongside a landscape or crowd, but won’t show detail on the corona or prominences during totality; see our astrophotography camera guide for the broader camera fundamentals that apply here.
Wide Shots vs. Close-Up Shots
A wide-angle shot capturing the darkened sky, a crowd’s reaction, or a landscape under the eclipse’s strange twilight lighting is often more compelling and tells a better story than a tightly zoomed shot of the Sun alone, and it requires none of the specialized long-focal-length gear a close-up shot demands. Many experienced eclipse photographers plan for both kinds of shots rather than choosing only one approach.
Settings During Partial Phases
With a proper solar filter in place, the filtered Sun behaves like a consistently bright subject, so a relatively low ISO and a moderate shutter speed — adjusted through test shots and a histogram check — captures a clean, sharp partial-phase image without much fuss. These settings stay fairly stable throughout the whole partial eclipse, unlike the dramatic changes needed once totality begins.
Removing the Filter for Totality
The solar filter must come off entirely for the total phase, since the corona is far too faint to show through a filter designed to block the Sun’s full brightness — and it must go back on the instant totality ends. Practicing this filter removal and replacement in advance, ideally many times, until it’s fast and automatic, avoids fumbling during the actual short window when it matters most.
Bracketing Exposures During Totality
The corona spans an enormous range of brightness, from the dazzling diamond ring at totality’s start and end to the faint, extended outer corona, which no single exposure can capture well. Shooting a bracketed sequence — several exposures at different shutter speeds in quick succession, typically ranging from very fast to several seconds — captures the full range, and many cameras’ built-in auto-bracketing feature can automate this sequence during the brief window available.
Tripod and Tracking
A sturdy tripod is essential at the focal lengths eclipse photography typically uses, and the Sun’s position shifts noticeably across a high-magnification frame even during a multi-minute totality, so a tracking mount that compensates for Earth’s rotation keeps the target centered without constant manual adjustment during the moments that matter most; see our star tracker guide for how tracking mounts work in a different context.
Don’t Forget to Actually Watch
The most common regret among first-time eclipse photographers is spending the entire brief totality staring at a camera screen rather than looking up with their own eyes at an experience that, for most people, comes along only once or twice in a lifetime; see our eclipse chasing guide for why balancing photography against simply watching is worth deciding on ahead of time.
Practicing Before Eclipse Day
Because totality is so brief and unrepeatable on the day itself, practicing the entire sequence — setting up the tripod, attaching and removing the solar filter, dialing in bracketed exposure settings — during an ordinary sunny afternoon in the weeks before an eclipse builds the muscle memory needed to execute smoothly under real pressure. A full rehearsal, timed against a stopwatch to simulate totality’s actual length, is genuinely worth the effort for anyone serious about eclipse photography.
A Simple Shot List
- Wide establishing shot of the location before the eclipse begins
- Filtered partial-phase sequence showing progressive coverage
- Diamond ring and Baily’s beads at the start of totality
- Bracketed corona exposures throughout totality
- Diamond ring again as totality ends
- A few unfiltered seconds simply watching, not shooting
Working through a list like this in the same order every practice session builds the kind of automatic muscle memory that holds up even under the adrenaline of the real event.