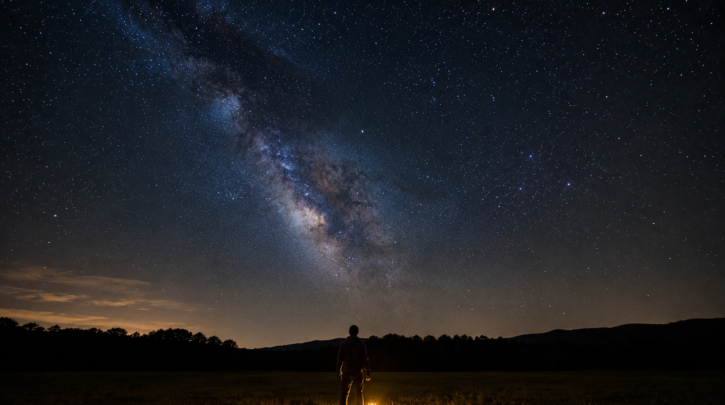

The most common mistake in stargazing is starting with a telescope. The actual first steps are your own eyes, a clear night, and a plan for what you’re looking for — gear comes later, once you know what you enjoy looking at and how serious you want to get.
Pick the Right Night
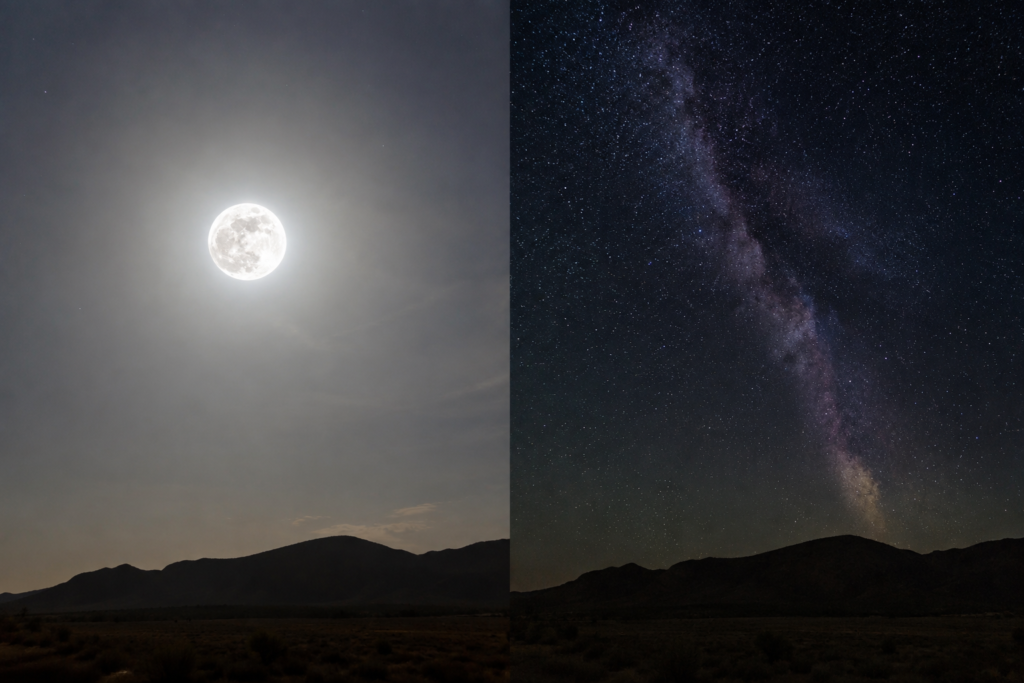
Moon phase matters more than most beginners expect. A bright, nearly full moon washes out faint stars and makes the sky look far emptier than it is, while a new moon or crescent moon gives you the darkest sky and the best first impression. Check a moon phase calendar before planning your first session, and pick a clear, cloudless forecast — even light haze can hide everything but the brightest objects.
Get Away From Light, As Much As You Can
You don’t need a pristine dark-sky site for a first night out, but getting away from direct streetlights and porch lights makes a real difference. A backyard with a clear view of the sky, or a local park after hours, is enough to start. As you get more serious, you’ll want to understand just how much light pollution is limiting what you can see; see our light pollution guide for what’s realistically visible from different sky conditions.
Let Your Eyes Adjust
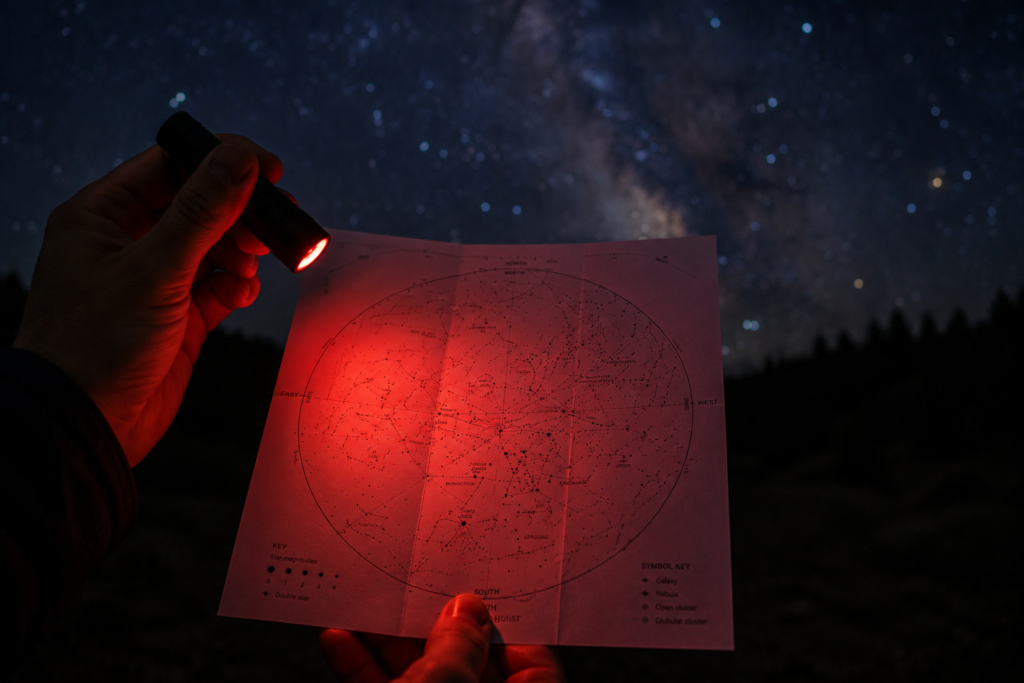
Night vision (dark adaptation) takes around 20 to 30 minutes to fully kick in, and it’s ruined instantly by a glance at a bright phone screen or white flashlight. Use a red flashlight or your phone’s night-mode display for checking a star chart or app, since red light preserves the eye’s dark adaptation far better than white light. This single habit does more for your first stargazing session than almost any piece of equipment.
Start With What’s Easy to Find
Your first night should be about anchor points, not faint targets. The Moon, when it’s up, is spectacular even to the naked eye — craters and mountain ranges are visible along the terminator (the line between light and shadow). Bright planets like Venus and Jupiter are unmistakable, steady points of light rather than twinkling stars. And a handful of easy constellations, like the Big Dipper or Orion depending on season, give you a mental map to build from; see our constellation guide for where to start.
Use a Star Chart or App
A star chart or stargazing app oriented to your date, time, and location turns a confusing sky into something navigable, showing you exactly where a constellation or planet should be relative to the horizon. Apps with a red-light night mode are especially useful in the field; see our stargazing apps guide and how to read a star chart for getting oriented before you head out.
Binoculars Before a Telescope
A pair of 7×50 or 10×50 binoculars is often the best first upgrade, well before a telescope. They’re cheap, require no setup, and reveal a genuinely different sky — hundreds more stars, the four brightest moons of Jupiter as pinpricks of light, and enough detail on the Moon to keep you occupied for an hour. Many experienced stargazers still reach for binoculars over a telescope for casual sessions, since there’s no learning curve involved.
Manage Your Expectations
Deep-sky objects like galaxies and nebulae look nothing like the vivid, long-exposure photos you’ve seen online — through binoculars or a modest telescope, most appear as faint gray smudges, and that’s genuinely normal, not a sign you’re doing something wrong or your equipment is bad. Smart telescopes that stack images automatically have changed this expectation somewhat, producing much more vivid views in real time, which is worth knowing before you buy your first serious piece of gear; see our beginner telescopes guide for how that tradeoff plays out.
Consider a Local Astronomy Club
Astronomy clubs and public star parties are one of the fastest ways to learn, letting you look through other people’s telescopes, ask questions in person, and get a feel for what different gear actually shows before spending money yourself. Many clubs host free public observing nights; see our star party guide for what to expect at one.
Dress for the Cold and Be Patient
Stargazing involves standing still outdoors, often for an hour or more, which gets cold fast even on a mild night. Dress warmer than you think you need to, bring a chair or blanket, and give yourself time — the sky rewards patience far more than any single piece of gear does.
Keep a Simple Observing Log
Even a basic log — date, what you looked at, sky conditions, moon phase — makes you a noticeably better observer over just a few sessions. It helps you notice patterns, like which nights and locations actually gave the best views, and it turns a string of individual sessions into a record you can look back on. This doesn’t need to be elaborate; a few notes in a phone app or a small notebook is plenty to start.
Your First Few Sessions Set the Tone
How much you enjoy stargazing long-term often comes down to the first few outings going reasonably well — clear skies, a plan, and realistic expectations. Picking a good moon phase, giving your eyes time to adapt, and starting with easy, rewarding targets like the Moon and a couple of bright constellations stacks the odds in your favor for a first impression that makes you want to go back outside again.