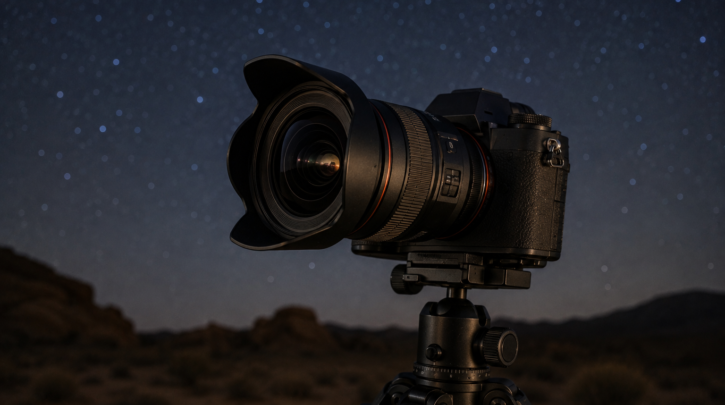

A good astrophotography camera doesn’t need to be new or expensive — it needs manual exposure control, RAW capture, and reasonable performance at high ISO settings. Most mirrorless and DSLR cameras from the last decade meet that bar, which means the camera you already own is probably more capable than you think.
Manual Mode and RAW Are Non-Negotiable
Full manual control over shutter speed, aperture, and ISO is essential, since night sky exposures need settings well outside what any automatic mode is built for. RAW format preserves far more image data than JPEG, which matters enormously during editing — pulling detail out of shadows, correcting color balance, and reducing noise all work dramatically better on a RAW file; see our editing basics guide for how that RAW data gets used.
Full-Frame vs. Crop Sensor
Full-frame sensors gather more light per pixel and generally perform better at high ISO with less noise, which is a real advantage for faint, noise-prone night sky exposures. Crop sensor cameras are more affordable and effectively provide extra reach for lunar and planetary shots, since a smaller sensor captures a narrower, more zoomed-in field of view through the same lens or telescope. Neither is a wrong choice — it depends on whether wide-field nightscapes or zoomed-in planetary and lunar shots interest you more.
Astro-Modified and Dedicated Astronomy Cameras
Standard cameras include an infrared-cutoff filter that blocks a lot of the deep red light emitted by hydrogen-alpha nebulae, muting their color in photos. “Astro-modified” cameras have this filter removed or swapped for one more transparent to that wavelength, which significantly improves nebula color at the cost of the camera being less suited to normal daytime photography. Dedicated astronomy cameras go further still, often using a cooled sensor to reduce noise during long exposures and no viewfinder at all, built purely for imaging faint deep-sky targets.
Lens Considerations
For wide-field Milky Way and nightscape shots, a fast wide-angle lens — roughly 14mm to 24mm at f/2.8 or faster — gathers enough light in a short exposure to avoid excessive star trailing. For planetary or lunar detail, a longer telephoto lens or an actual telescope used with the camera attached (a technique called prime focus) captures far more usable detail than any standard zoom lens can.
Smartphone Astrophotography
Modern smartphone night modes have genuinely improved and can capture a surprisingly usable Milky Way shot on a tripod under dark skies, or a recognizable Moon shot with the right app. That said, phones still lag well behind a dedicated camera for anything beyond bright, simple targets, and some phones’ aggressive “space zoom” processing effectively composites in reference imagery rather than capturing genuine optical detail — worth knowing before trusting a phone’s zoomed Moon shot as a true optical result.
When a Camera Isn’t the Right Tool at All
For faint deep-sky targets specifically, a traditional camera setup requires significant additional gear — a tracking mount, ideally a guide scope, and stacking software — to get results anywhere close to what’s now possible straight out of the box with a smart telescope’s built-in stacking pipeline. If deep-sky objects are the main draw rather than wide nightscapes or the Moon, it is worth weighing a smart telescope against building a traditional camera-based rig; see our smart telescope guide for that comparison.
Buying Used
Because the core requirements — manual mode, RAW, decent high ISO — have been standard on mid-range cameras for well over a decade, a used camera body several generations old is often a genuinely smart way to get started without committing to a current flagship price tag, especially while you’re still learning which tier of astrophotography actually interests you most.
Sensor Cleanliness and Long Exposures
Long night-sky exposures reveal sensor dust spots far more readily than typical daytime photography, since a uniformly dark sky has nothing to hide a faint dark speck behind. Checking and cleaning a sensor before a dedicated astrophotography session, and shooting flat calibration frames to map out any remaining spots, saves a meaningful amount of editing time removing them afterward; see our editing basics guide for how flat frames are used in processing.
Battery Life in the Cold
Cold nighttime temperatures drain camera batteries considerably faster than normal use, which catches out a lot of first-time astrophotographers on a long session. Bringing spare batteries, keeping them in an inside pocket close to body heat between swaps, and considering an external battery pack for tethered setups all help avoid a dead camera partway through a long tracked exposure sequence.