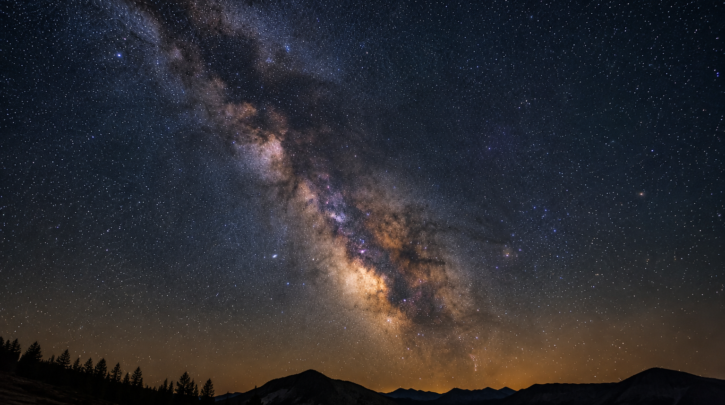

A good Milky Way photo depends more on timing and location than on advanced gear — a new moon, a dark sky, and the right season for the galactic core to be visible matter more than any camera setting. Once those conditions are right, the technical side is a manageable set of exposure rules.
Timing: Moon Phase and Season
Shoot as close to a new moon as possible; even a half moon brightens the sky enough to wash out the Milky Way’s faint structure. In the Northern Hemisphere, the bright galactic core is visible roughly from February through October, with the best, highest position in the sky typically from June through August. Outside that window, the Milky Way is still up but the brightest core section isn’t visible, which noticeably changes how dramatic the shot looks.
Location and Sky Darkness
A genuinely dark sky — Bortle class 4 or darker — makes a dramatic difference in how much structure and color the Milky Way shows; see our light pollution guide for what changes at each darkness level, and our dark-sky destinations guide for specific places to shoot from.
Gear: Fast, Wide, and Steady
A wide-angle lens in the 14mm to 24mm range with an aperture of f/2.8 or faster gathers enough light in a reasonably short exposure to avoid excessive star trailing while still capturing a wide swath of sky and foreground. A sturdy tripod is essential, since even minor vibration ruins a multi-second exposure, and a remote shutter release or a 2-second timer avoids the shake from pressing the shutter button by hand.
Exposure Settings
A commonly used starting point is the “500 rule”: divide 500 by your lens’s focal length to get a rough maximum exposure time in seconds before stars start visibly trailing. A more precise version, the NPF rule, also factors in aperture and sensor pixel size, and most astrophotography planning apps will calculate it for you. From there, ISO typically runs from 1600 to 6400 depending on your camera’s noise performance, with aperture set as wide open as the lens allows.
| Focal Length | Approx. Max Exposure (500 Rule) |
|---|---|
| 14mm | ~35 seconds |
| 20mm | ~25 seconds |
| 24mm | ~20 seconds |
| 35mm | ~14 seconds |
Focusing at Night
Autofocus generally doesn’t work reliably in the dark, so switch to manual focus, use your camera’s live view zoomed in on a bright star or planet, and adjust the focus ring until that point of light is as small and sharp as possible. Once focus is set, avoid bumping the focus ring for the rest of the session, and consider taping it in place if your lens focus ring moves easily.
Handling the Foreground
A single exposure often can’t properly expose both a bright sky and a dark foreground landscape at once. Common solutions include a separate, longer foreground exposure blended in during editing, brief light painting with a dim flashlight during the shot, or simply accepting a silhouetted foreground, which can look striking on its own against a detailed sky.
Planning Apps Make This Much Easier
Apps like PhotoPills show exactly when and where the Milky Way core will be positioned relative to a specific foreground location, letting you plan a composition in advance rather than guessing in the field. Combined with a moon phase calendar, this turns Milky Way photography into a plannable event rather than a matter of luck; see our stargazing apps guide for more on planning tools.
Adding a Tracker for Better Results
A static tripod shot is a great starting point, but a portable star tracker lets you extend exposure time well past the 500-rule limit, gathering dramatically more light and revealing more color and structure in the Milky Way’s core than an untracked shot ever could; see our star tracker guide for entry-level options and how polar alignment works in practice.
Common First-Attempt Mistakes
The most frequent issues on a first Milky Way shoot are shooting too close to a bright moon, leaving autofocus on instead of manually focusing on a star, and choosing a location with more residual light pollution than expected once the eyes adjust and faint sky glow becomes obvious on a rear screen preview. Checking moon phase, focus, and a light pollution map ahead of time heads off most of these before they cost you a wasted night.
None of these mistakes are hard to avoid once you know to check for them, which is exactly why a little planning ahead of time pays off so much more than trying to fix a bad session’s data in editing afterward.